With timestamps you can link your transcript to the original recording so that you can always access the original sound and listen to sections that are difficult to understand or that need more attention.
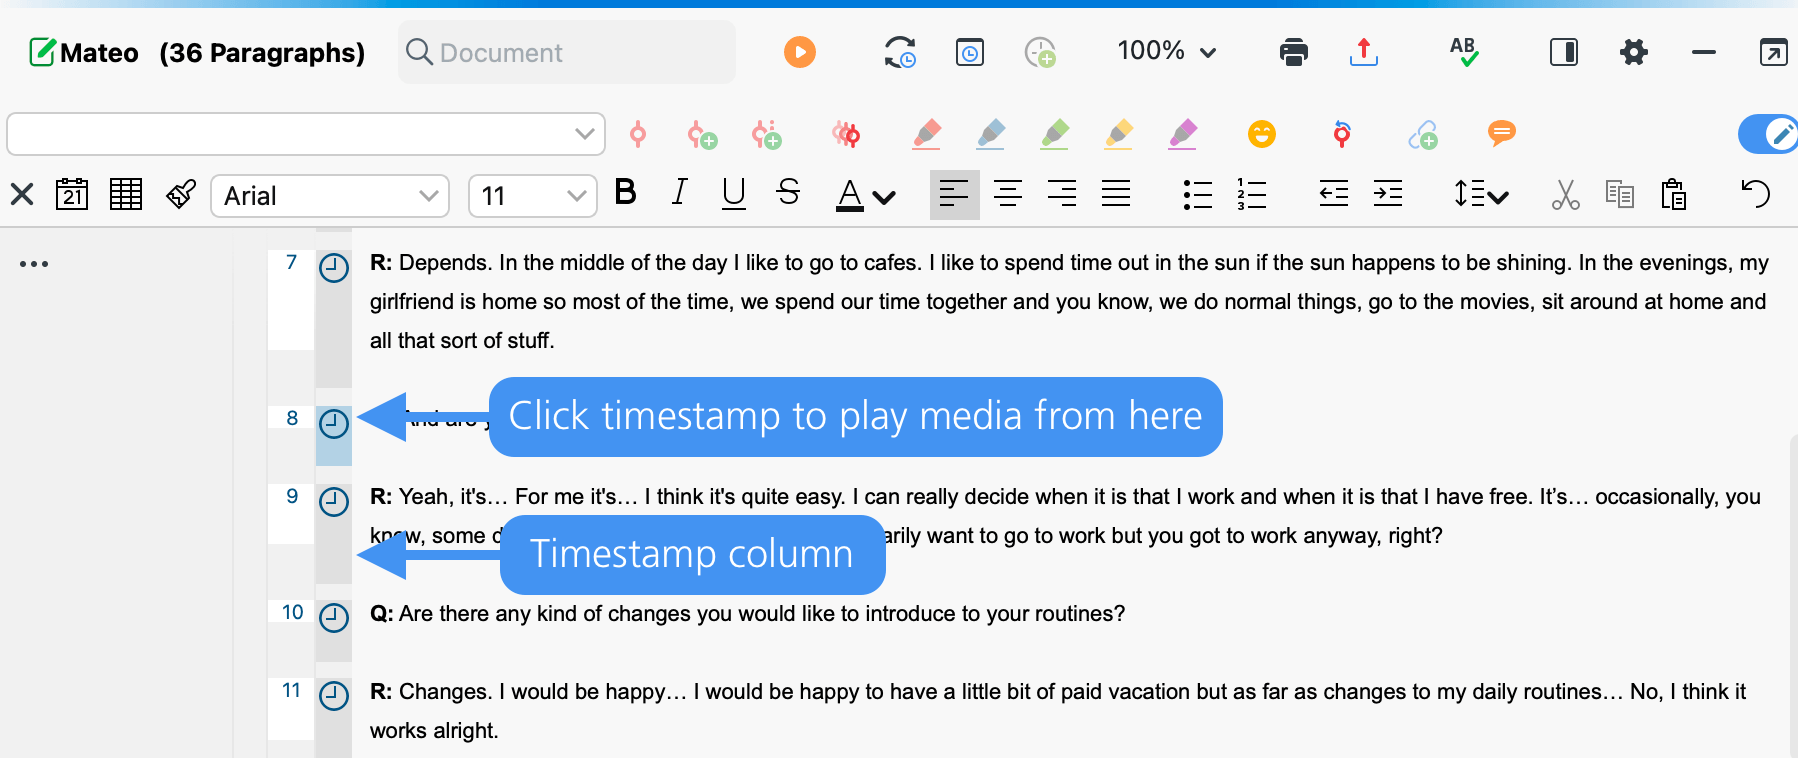
When transcribing manually in transcription mode, MAXQDA automatically inserts a time marker by default after a paragraph, i.e. usually between two speech contributions. The timestamps appear in a separate column in the “Document Browser”, left to the transcription text.

Clicking on a timestamp (or the range between two timestamps) opens the associated media file and starts playback at the stored position. Playback automatically ends at the next timestamp.
Automatic insertion of timestamps during manual transcription can be deactivated in the Transcription Settings window.
Add timestamps manually
While transcribing manually, you can also manually insert timestamps into a transcript, such as to mark a difficult to understand section:
- To do this, click on the New timestamp icon in the “Document Browser”,
- or press F6.

MAXQDA then inserts a timestamp where your cursor blinks in the text and visualizes it in the time stamp column at the left margin. You can also create multiple timestamps in a row, but only one timestamp is displayed in the timestamp column.
Timestamps can't be inserted arbitrary; instead, MAXQDA checks whether the chronology of the timestamps is maintained when trying to insert a timestamp. For example, if the current playback position of an audio file is at 3 minutes, but there is already a timestamp at 4 minutes in before the current text position, you cannot add another timestamp.
- After transcription, an important passage of text was identified where access to the original sound should be possible.
- A transcript was imported without timestamps, and the timestamps automatically set during import need to be added or changed.
- An incorrectly set timestamp needs to be moved around.
Delete timestamps
To delete an unnecessary timestamp, click on the symbol in the timestamp column with the right mouse button and select Delete Timestamp in the context menu.
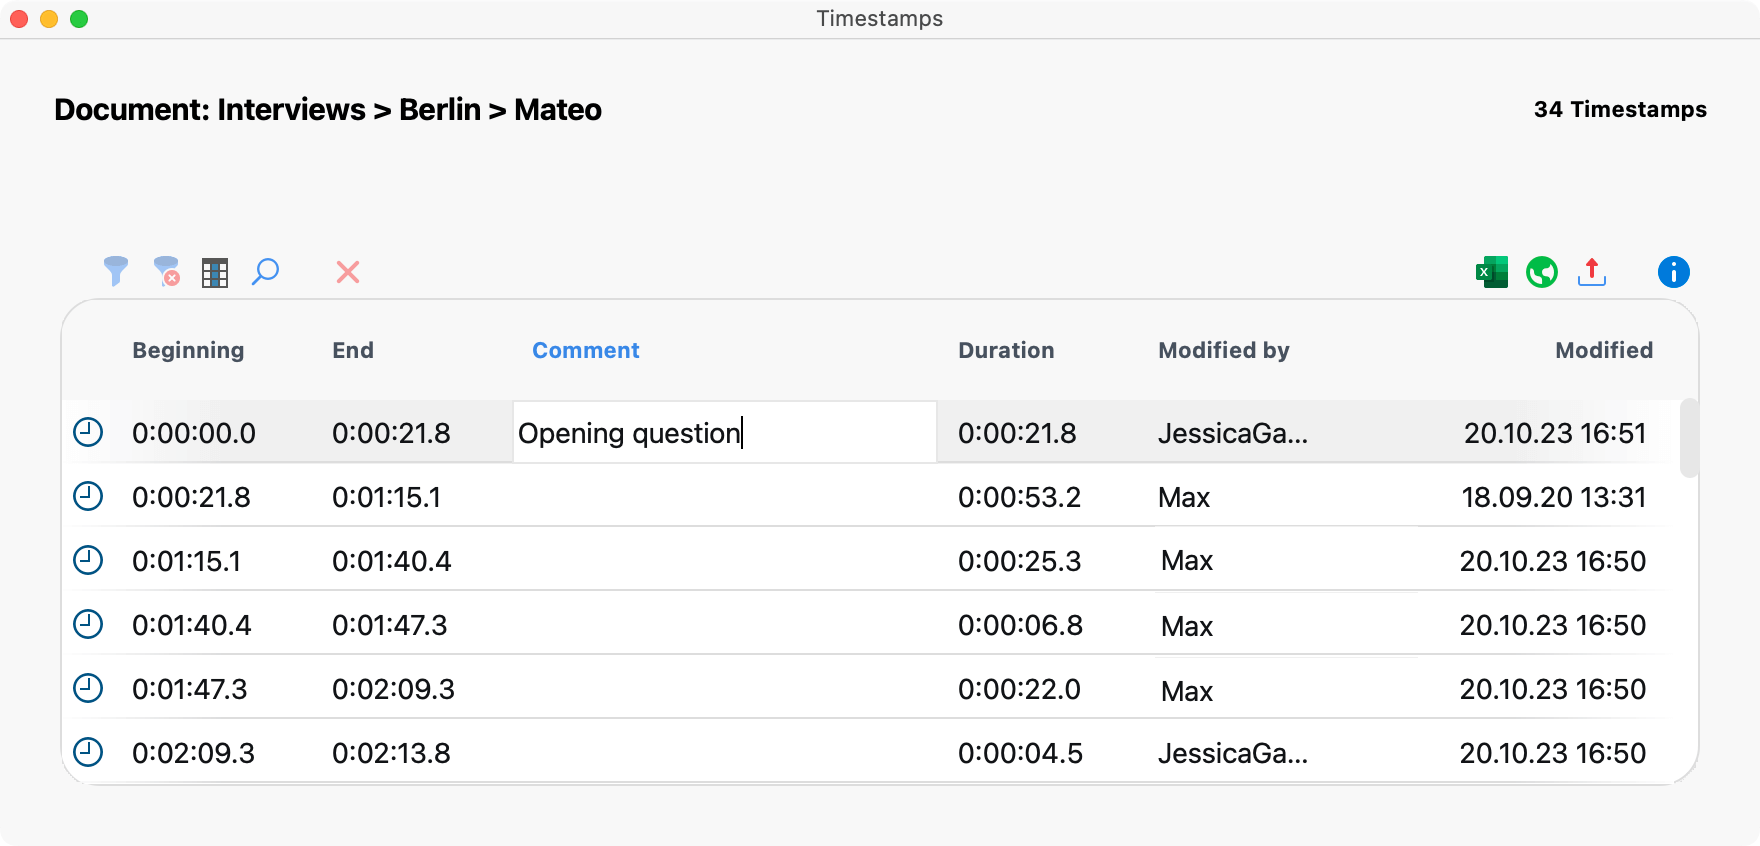
There is also an "Overview of Timestamps", which lists all timestamps of the currently opened transcript. You can open the overview by clicking on the icon with the same name at the top of the “Document Browser”. In the overview, you can delete timestamps by marking one or more rows and clicking the delete icon.

